
This page introduces how to use the iOS App “Pumice Camera” (available for free download on the App Store: under review).
Parents/guardians should check this explanation and inform the child if the child is using it.
日本語版はこちら – Click here for Japanese version
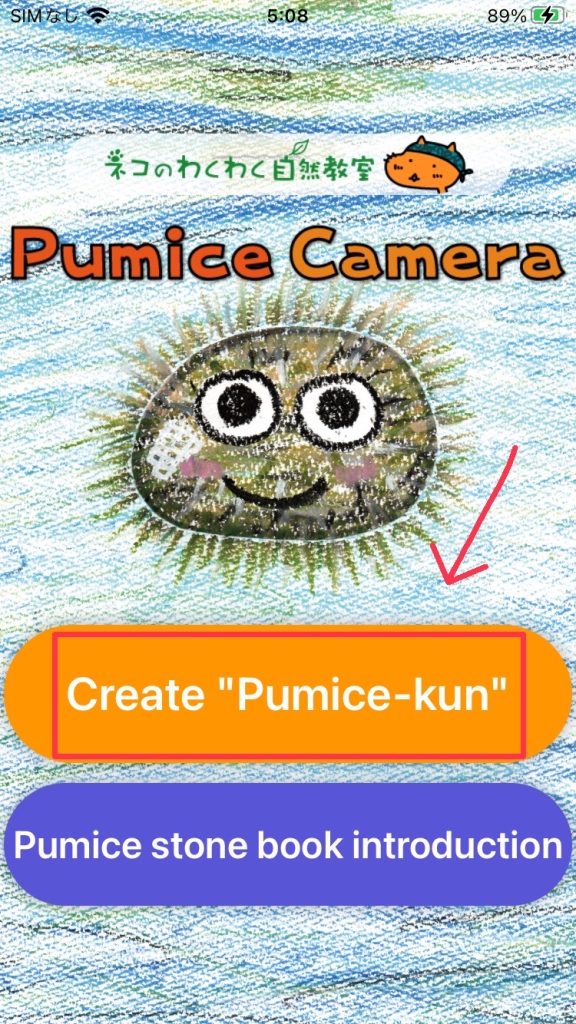
Select “Create “Pumice-kun””
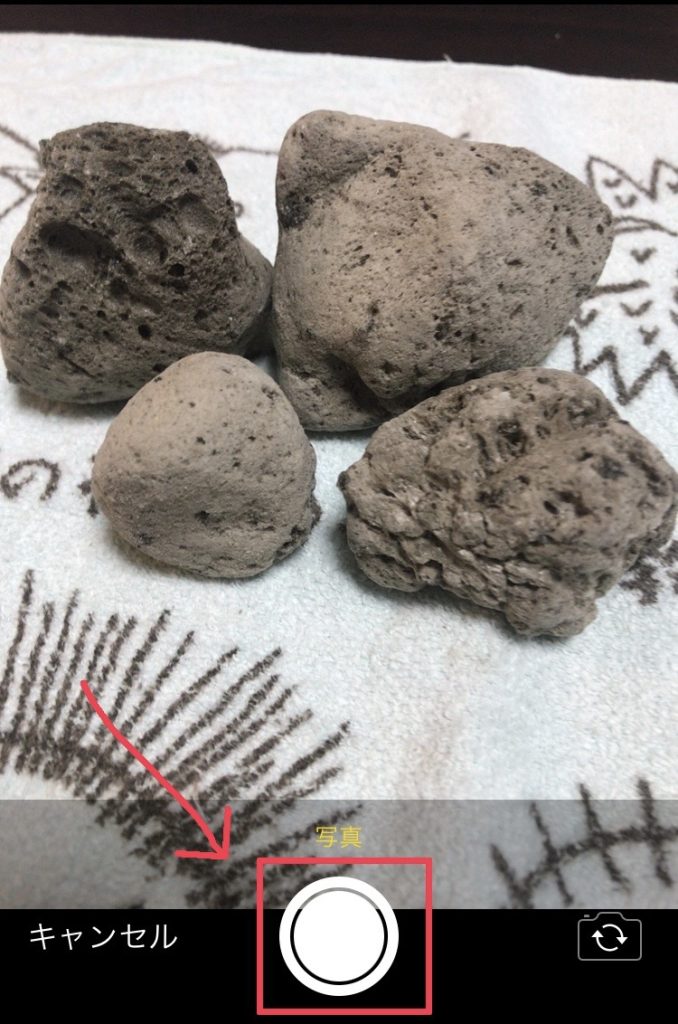
First, prepare the photo to be processed this time.
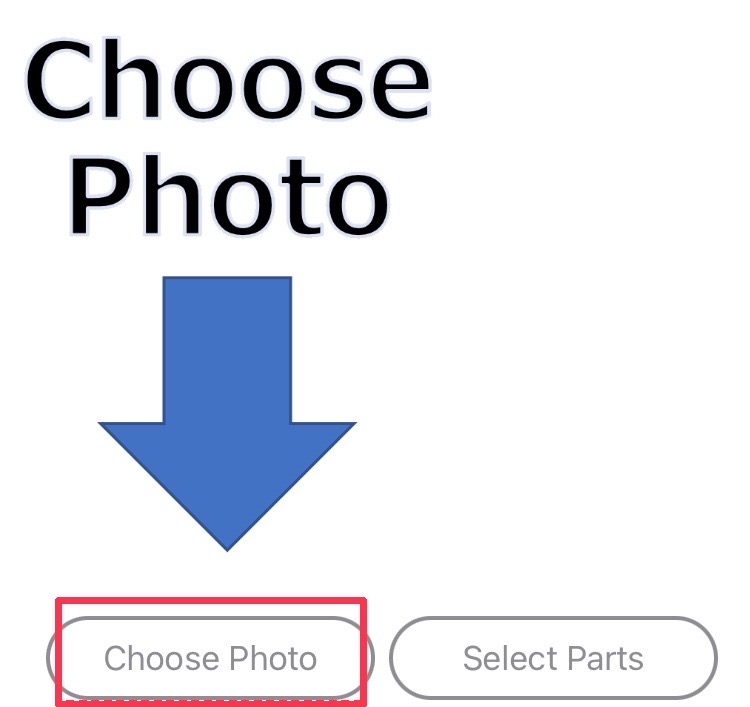
Photos can be selected from ①Use a saved photo or ② Take a photo.
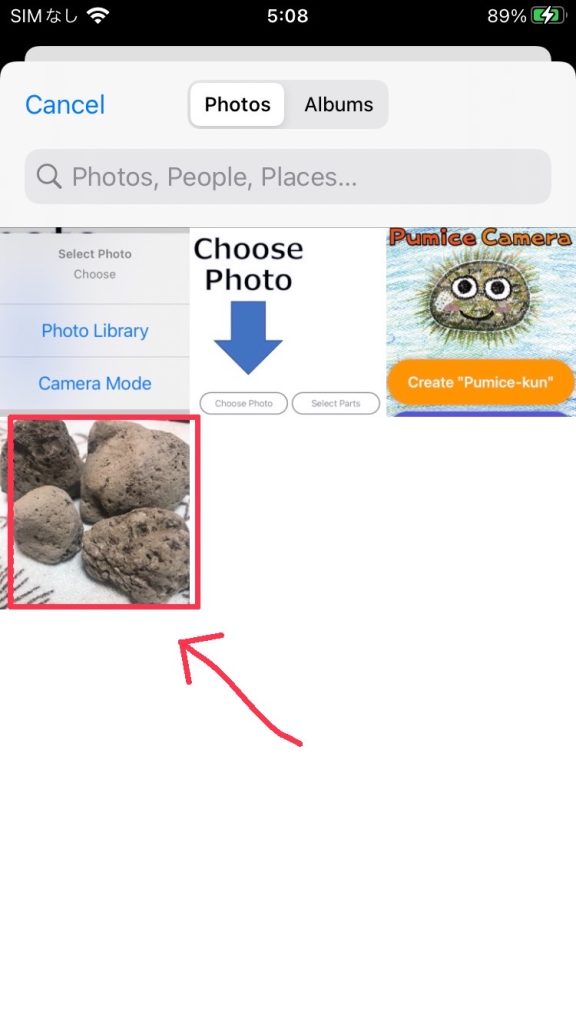
In ①, select your favorite image from the photos saved on your smartphone.
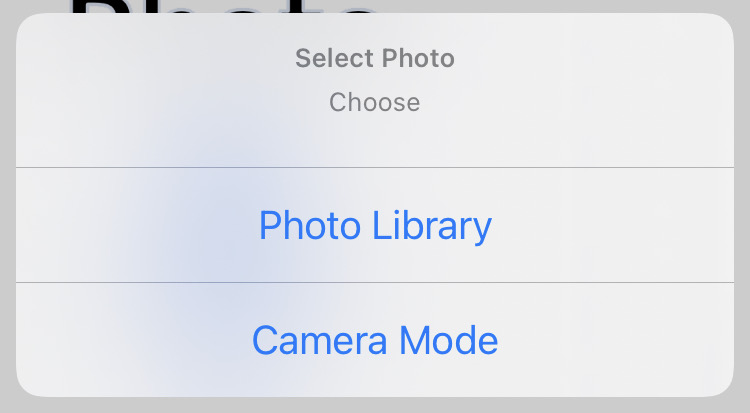
② When taking photos, it is recommended to take photos in portrait orientation to expand the range of processing.
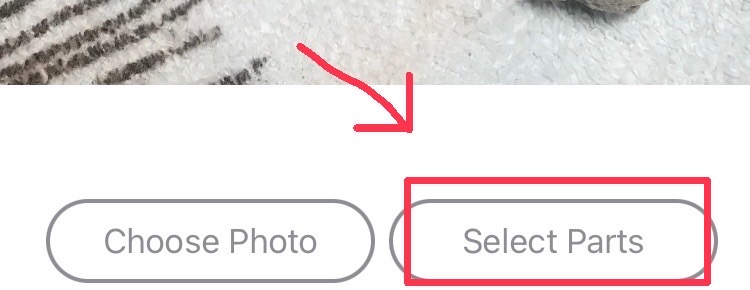
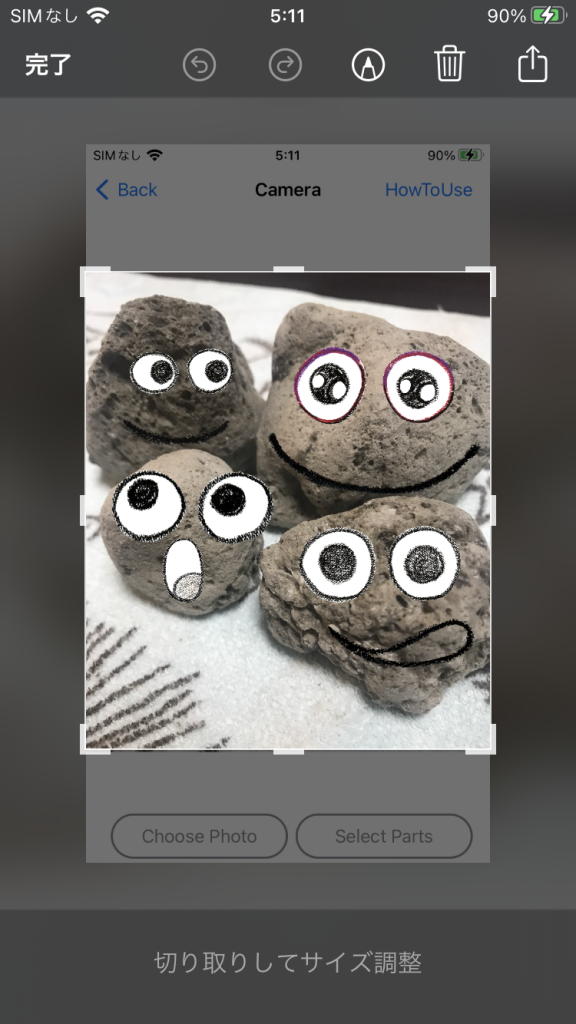
After selecting the photo, select the eyes and mouth parts.
Select “Select Parts”
Up to 16 parts can be selected.
First, select “Large” and press your favorite parts.
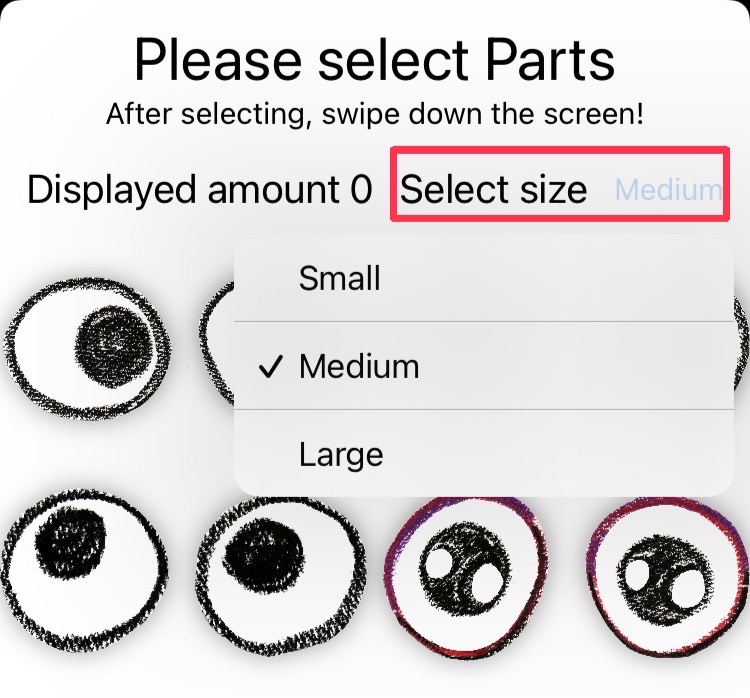
Once you have selected the number you want, swipe down from the top of the screen to close it.
After placing the parts, save the image.
Use the screenshot function.
Operations may differ depending on the device you are using.
① Press screen lock button + volume + button at the same time
② Press screen lock button + home button at the same time
You can shoot with either
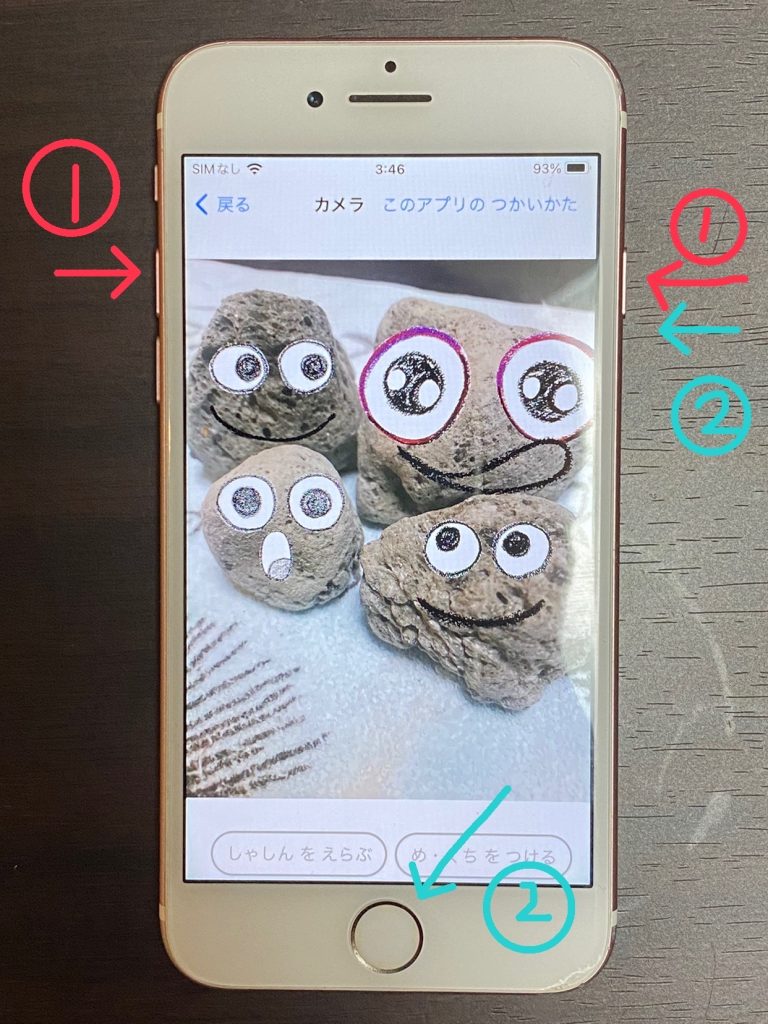
After button operation, you can select the area to take a screenshot. Select the range of photos you want to save and finally press “Done”.
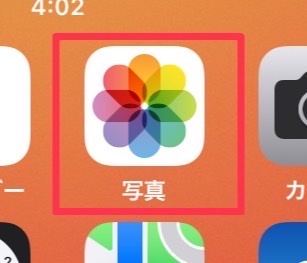
You can check the photos saved here in “Photos” on the home screen.
If you have any questions about this app, please submit your question through this google form.